Managing Teams
If you are managing registration externally or have a mix of cases where some teams register in person and some through volley.love, you can add, edit, or remove teams.
Adding a Team
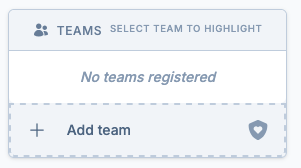
To add a team, locate the "Add team" button at the end of the Teams table:
You will be presented with a dialog that looks like this:
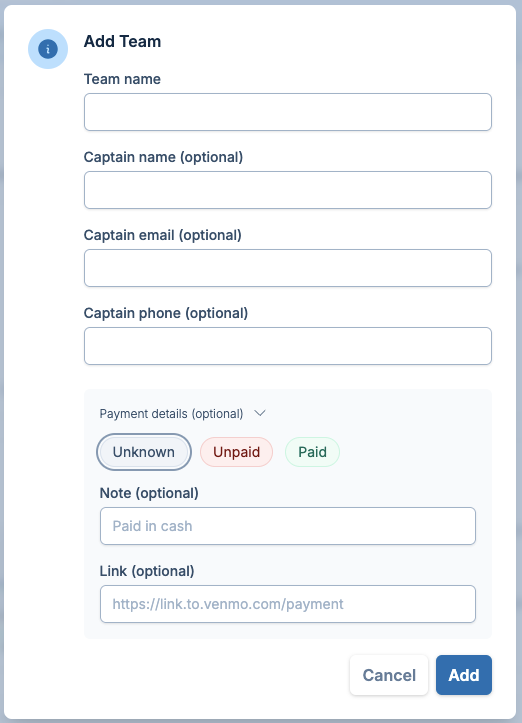
Simply fill in the fields. You can even choose to track payment details for the team, but it's not required.
It is highly, highly recommended to include the captain's email. volley.love emails captains for various reasons, documented here.
Without a captain's email, volley.love cannot email the captain.
Editing a Team
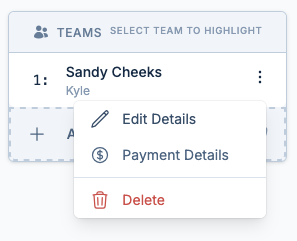
If you wish to change a detail about a team (team number, name, or captain info), you can do so by clicking on the triple-dot menu next to the team name in the teams table and choosing "Edit Details"
From here you can modify the team number, name, and captain contact information.
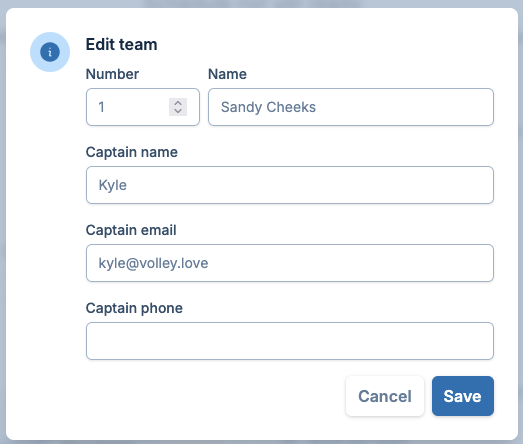
You can edit a team name or number at any time without any negative impact to schedules. It will simply update the team name everywhere. You will not need a new schedule for updating a team name.
Updating Team Payment Details
If you wish, you can use volley.love to track whether a team has paid their registration fees for the league. This is done automatically if you chose to use in-app payments, which will mark the team as paid when they register.
If you're manually tracking, simply open the team menu and choose "Payment Details"
You will see a form like the following:
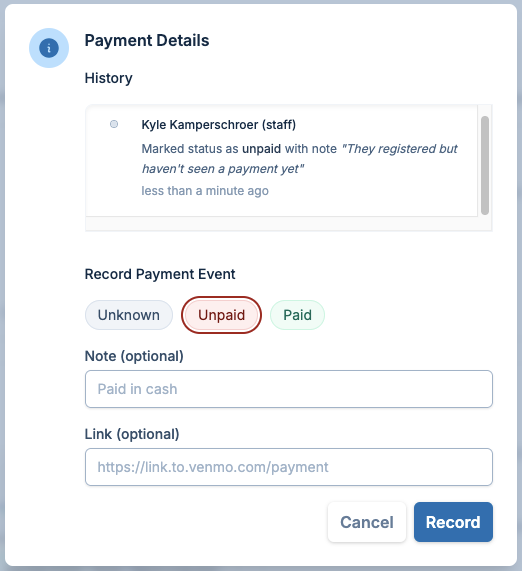
Here you have a history of events and you can record a new one. You can choose between:
- Unknown
- Unpaid
- Paid
You can also optionally include a note or a link to the payment.
This is a tool for your own tracking purposes.
Removing a Team
Finally, if a team doesn't pay in time or decides to drop and you need to remove them, you can remove them by choosing the "Delete" option in the team menu.
You will be asked to confirm this action.
Removing a team after the schedule has been created and approved requires contacting support, since you will need a new schedule. Simply click "Contact Support" in the app, or click here.